4,8/5 auf Trustpilot

Most beginner mixes are mono mixes in disguise. Every instrument is stacked dead center, fighting for the same tiny strip of space, and the result sounds cluttered and small. Panning fixes that — and a panning chart is the map that tells you where each instrument belongs. It's one of the simplest tools in mixing, and one of the most transformative.
In this guide we'll explain what panning is, how a panning chart organizes the stereo field, where to place every common instrument, and how to use width without accidentally hollowing out your mix.

What is panning?
Panning determines where each sound sits in the stereo field — left, right, or center. It's how you create width and separation in a mix. Imagine standing in front of a live band: the singer is usually right in the middle, the drummer spread out behind, and the guitar and keyboard players off to the sides. Panning recreates that natural spread, mimicking how we actually hear sound in the real world.
Without thoughtful panning, every element piles up in the center and the mix becomes muddy, with instruments masking each other. When done right, panning gives each instrument its own place to shine, making the mix feel more open, natural, and immersive.
Panning is the "left to right" dimension of a mix — the width axis. Combined with reverb and delay (which add front-to-back depth), it turns a flat wall of sound into a three-dimensional space where every part has its own position.
How a panning chart works
A panning chart is a map of the stereo field. It shows, at a glance, which sounds belong in the strong center and which can spread out to the sides. It works in three zones.
Center (mono)
The core elements anchor the mix and stay dead center: lead vocals, bass, and the kick drum (and usually the snare too). These are the most important, lowest, and most powerful sounds, and centering them keeps the mix balanced and stable. Low frequencies in particular contain the most energy, so keeping bass and kick centered keeps your low end solid and translatable on any system.
Mid-range panning
Supporting instruments — pianos, rhythm guitars, hi-hats, ride cymbals, and percussion — are placed slightly left or right. This spreads them out and prevents them from clashing with the core elements. A guitar nudged 30% left and a keyboard 30% right immediately open up the middle of the mix.
Wide panning
Textures and ambient elements — synths, FX pads, stereo-recorded sources, adlibs, toms, and crash cymbals — can be pushed further toward the edges. These add width and immersion without competing for the critical center. Notice on the chart that the further a sound sits from center, the softer and more ambient it tends to be, which mimics natural hearing.

Panning techniques
The chart tells you where things go; these techniques tell you how to get them there.
LCR mixing places sounds hard left, dead center, or hard right — nothing in between. It's a clean, organized approach that keeps every element clearly defined and is a great discipline for beginners.
Symmetrical placement pans two similar elements equally to opposite sides — for example, a doubled guitar 40% left and 40% right. This creates balance and width while keeping the overall mix centered.
Asymmetrical placement uses uneven panning for a more creative, natural feel — a tambourine 20% left, a shaker 35% right. Real rooms aren't perfectly symmetrical, and neither are the most interesting mixes.
Automation moves a sound across the field over time — slowly panning a synth from left to right, for instance — to add life and excitement at key moments.
How to pan your mix (a 4-step plan)
Step 1 — Anchor the center
Start by placing your foundation dead center: lead vocal, bass, kick, and snare. Don't move these. They carry the weight and focus of the song, and centering them guarantees a stable low end and a clear focal point.
Step 2 — Spread the supporting instruments
Take your rhythm guitars, keys, hats, and percussion and nudge them left and right using the mid-range zone. Aim for balance: if something goes left, find a counterpart to place right so the mix doesn't feel lopsided.
Step 3 — Push textures wide
Send your synth pads, FX, stereo elements, and ear-candy toward the edges. These create the sense of width and immersion. Because they live at the sides, keep them a touch softer so they support rather than distract.
Step 4 — Check in mono
Flip your mix to mono and listen. Anything that disappears or weakens has a phase problem — common with stereo wideners and doubling effects. If the mix still sounds full and balanced in mono, your panning is solid.
Common mistakes to avoid
- Over-panning. Pushing everything hard to the sides leaves a hollow, disconnected hole in the middle. Keep core elements centered and only go wide when it genuinely adds value.
- Panning the bass or kick. Low frequencies carry the most energy and need to stay centered. Panning them weakens your low end and can cause translation problems on different speakers.
- Lopsided balance. Loading one side with more instruments than the other makes the mix feel like it's tilting. Balance every left-panned element with something on the right.
- Never checking mono. Stereo wideners and doublers can cause sounds to vanish or weaken when summed to mono — which is exactly what happens on many phone speakers and club systems. Always verify in mono.
- Treating panning as an afterthought. Panning is step one of building space, done before reverb and delay. Skipping it leaves your effects trying to fix a cluttered center they were never designed to fix.
Why a panning chart matters
A panning chart turns one of mixing's most intuitive-but-easy-to-overlook steps into a repeatable system. Instead of guessing, you place every instrument with intent and end up with a mix that's clear, wide, and balanced. Using a chart gives you:
- A clutter-free center where your most important elements — vocals and low end — stay strong and focused.
- Width and dimension that make the mix feel immersive instead of flat.
- A reliable starting point you can apply to any song, then adjust by ear.
Take it further
Panning is the first move in the full space-and-effects chapter — alongside reverb, delay, and the complete workflow for building a three-dimensional mix — all covered visually in Mixing & Mastering Simplified.
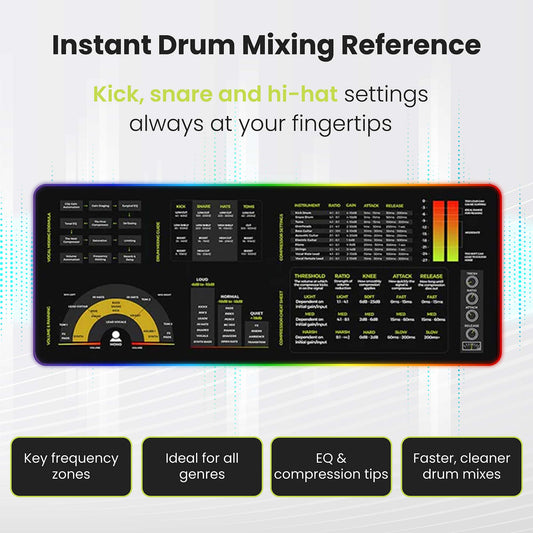
Want the panning map and effect settings at your desk? The Mixing & Mastering Cheat Sheet Poster and Cheat Sheet Mousepad keep stereo placement and signal-flow reminders within reach while you mix.
Pair them with the Instrument Frequency Cheat Sheet Poster for EQ reference alongside your panning, or grab everything together in the Complete Mixing & Mastering Bundle.

FAQs about panning
What should stay centered in a mix?
Lead vocals, bass, kick drum, and usually the snare. These are your most important and lowest-frequency elements, and centering them keeps the mix stable, focused, and translatable across different speakers.
What is a panning chart?
It's a visual map of the stereo field showing where each instrument should sit — from the strong center (mono) out to the far left and right. It groups sounds into center, mid-range, and wide zones so you can place every track with intent instead of guessing.
Why does my mix sound hollow after panning?
You've probably over-panned and left the center empty. Pull your core elements — vocals, bass, kick — back to the middle, and only push textures and supporting parts wide. The center should always feel anchored.
Should I pan the bass?
No. Bass and other low-frequency content should stay centered. Low frequencies carry the most energy, and panning them weakens your low end and creates an unbalanced, harder-to-translate mix.
Why check my mix in mono?
Many listening situations — phone speakers, club systems, some Bluetooth speakers — collapse stereo to mono. Stereo wideners and doubling effects can cause sounds to weaken or disappear when summed. Checking in mono ensures nothing important vanishes.
This post is part of Musiciangoods' Mixing & Mastering Simplified series — practical production technique, taught visually, for musicians who want to shape their sound with confidence. Explore more mixing and mastering tools here.