 4.8/5 on Trustpilot

You've booked your first studio session. Maybe you're tracking vocals on a friend's demo, or recording a band, or showing up to mix someone else's project. If you've never been inside a working studio before, the first hour can feel like walking onto a film set with no script. Here's what actually happens — and what makes the difference between a session that flies and a session that stalls.
In this guide, we'll break down what a studio session actually is, the three main types, what happens in the first ten minutes, how to prep your files so the engineer doesn't lose their mind, and the etiquette that separates pros from first-timers.

What is a studio session?
A studio session is a block of focused time spent in a recording studio (or a home studio set up to function like one) doing one of three things: recording, mixing, or mastering. Each one is a different job with different goals, different gear, and a different rhythm.
- Recording sessions — capturing performances. Vocals, instruments, full bands, voiceover. The room, microphones, and performer prep matter most.
- Mixing sessions — balancing the recorded tracks. Carving frequencies with EQ, controlling dynamics with compression, placing sounds in the stereo field, adding effects.
- Mastering sessions — final polishing. Loudness, tonal balance across the album, and preparation for streaming, vinyl, or CD.
Most "studio sessions" you'll be part of as a musician are recording sessions. Most professional engineers spend their days in mixing sessions. Mastering is usually a separate, shorter session at the end of the project.
What happens in the first 10 minutes of a session
The opening of a studio session is almost always the same, regardless of what's being recorded. The engineer does four things in roughly this order:
- Opens a new project in the DAW (digital audio workstation — Pro Tools, Logic Pro, Ableton Live, Cubase, FL Studio, etc.).
- Sets the sample rate to match the project format (44.1 kHz, 48 kHz, or 96 kHz are common). If this doesn't match the source files, audio will play back at the wrong pitch and speed.
- Sets the project tempo (the BPM). This matters even for mixing sessions because it keeps time-based effects like delays and modulation in sync with the song.
- Sets the buffer size. For recording, low (64–128 samples) to minimize latency. For mixing, high (512+) to give the computer headroom for plugins.
If you're the artist showing up to record, this setup is happening before you walk in or while you warm up. If you're the engineer, doing it consistently every time is the foundation of a smooth session.
How to prepare your files for a studio session
If you're sending stems to an engineer for a mixing session — or if you're showing up to mix someone else's project — file preparation is where most sessions go wrong before they start.
Step 1 — Bounce or export each track as a stem
A stem is an individual track or grouped set of tracks exported as a separate audio file. Each stem should start at bar 1 (or the same exact timeline position as every other stem) so they line up perfectly when imported into the engineer's session.
Step 2 — Use a clear naming convention
Name files descriptively: 01_Kick.wav, 02_Snare.wav, 03_Hat.wav, 10_LeadVox.wav. Include the BPM and the song key in the folder name if possible: SongName_120BPM_Cmin_Stems. The engineer will thank you.
Step 3 — Match the sample rate to the session
If the session is at 48 kHz, export your stems at 48 kHz. Mismatched sample rates cause pitch and speed problems and create extra work for the engineer to resample everything.
Step 4 — Strip unnecessary effects (usually)
For mixing, send the engineer dry stems wherever possible — no reverb, no delay, no compression baked in. The mixing engineer wants to make their own choices. Exception: if a specific effect is part of the creative sound (like a tape saturator on the lead vocal), leave it printed and send both versions if you can.
How to organize a session once it's open
Once the stems are imported, the engineer organizes them. This is the step most beginners skip — and the step that most affects how fast the session moves.
A typical session layout from top to bottom:
- Vocals at the top — they're usually the focal point of the mix
- Drums next — the rhythmic foundation
- Bass below the drums — kept close for quick rhythm-section balance adjustments
- Keys, synths, and pads — the harmonic layer
- Guitars and other instruments — slotted in by importance
- FX, atmospheres, and risers — at the bottom
Color-coding makes this even faster. Orange for vocals, green for drums, yellow for bass, blue for keys, pink for FX — pick any system, but use it consistently. After a few sessions, your eyes find the right track without thinking.
Common mistakes to avoid
- Showing up unprepared as the artist. If you're tracking vocals, warm up before you walk in. If you're tracking instruments, tune your strings, change old strings, check your gear. Studio time is expensive and lost minutes don't come back.
- Sending poorly labeled stems. Files called "audio01.wav," "thing.wav," and "newversion-FINAL-v3.wav" will tank the engineer's mood and slow the session. Spend ten minutes naming things properly.
- Mismatched sample rates. Always export stems at the project's sample rate. Mismatches mean pitch and speed errors and conversion artifacts.
- Skipping session organization. An unorganized session feels minor at first but compounds every minute. After hour two you're hunting for tracks instead of mixing.
- Treating the studio like a writing room. Most studio sessions aren't the place to write new parts from scratch. Show up with your arrangement decided. Use the studio for capturing and refining, not composing.
Studio session etiquette
A few unspoken rules that separate pros from first-timers:
- Be on time. The clock starts when the session is booked, not when you arrive.
- Don't touch the gear unless invited. The engineer's setup is calibrated. Knobs, mics, and faders are not toys.
- Bring water, snacks, and headphones you trust if you're tracking. Long sessions drain you.
- Trust the engineer's first take judgment. Engineers hear performance differences you may not notice. If they say take 3 was the one, it probably was.
- Save and back up everything before you leave. Two copies, two locations. Studio computers crash; sessions get corrupted.
Why a well-run studio session matters
The difference between a chaotic session and a clean one isn't talent or gear — it's preparation. A well-run studio session means:
- You spend studio hours on creative decisions, not on file management and troubleshooting.
- The engineer can hear and respond to the music instead of fighting the session.
- The final mix sounds better because the workflow didn't drain the energy out of the process.
This is why pros obsess over session setup. The first hour determines how the next eight feel.
Take it further
If you want a clear, visual walk-through of how to set up a studio session — sample rate, tempo, buffer size, stem import, organization, color-coding, and what to do before mixing begins — the session setup chapter in Mixing & Mastering Simplified is the most beginner-friendly breakdown we've put together. Same visual style you've seen in this post.
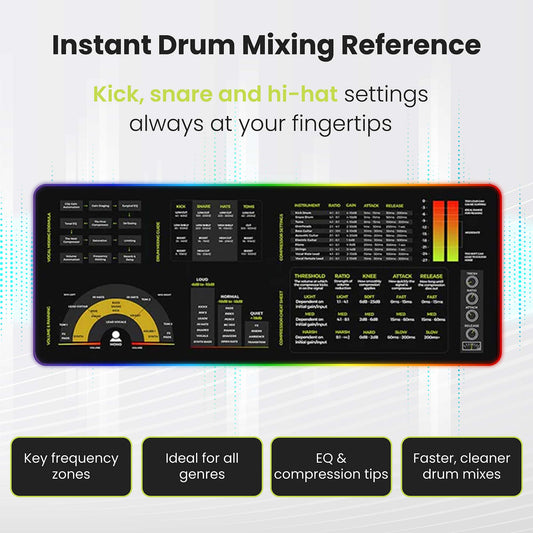
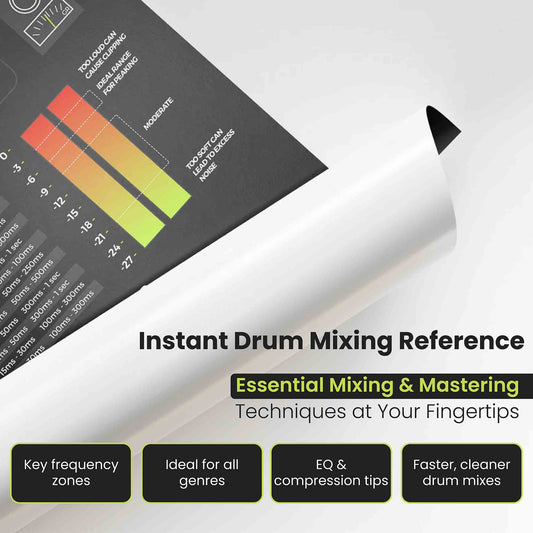
Want EQ frequencies, compression starting points, and reverb settings next to your DAW? The Mixing & Mastering Cheat Sheet Poster and Cheat Sheet Mousepad put plug-in chains, frequency ranges, and dynamics settings at a glance.
For dialing in EQ on individual instruments during a session, the Instrument Frequency Cheat Sheet Poster shows you exactly where to find each instrument's character on the frequency spectrum. Or grab everything together in the Mixing & Mastering Bundle.
FAQs about studio sessions
What is a studio session?
A studio session is a block of time spent in a recording studio (professional or home) doing one of three jobs: recording performances, mixing recorded tracks, or mastering a finished mix. Each type has different goals, gear, and pacing.
How long is a typical studio session?
It varies. Recording sessions are commonly four to eight hours. Mixing sessions can run from one full day to several days per song. Mastering is faster — usually one to two hours per song. Most studios book in three-hour minimum blocks.
What should I bring to a studio session as an artist?
Your instrument (tuned, with extra strings/picks), water, snacks, lyric sheets if you're tracking vocals, reference tracks of how you want it to sound, and a backup drive to take the project files home on. Don't bring people who aren't directly involved.
How do I prepare stems for a mixing session?
Export each instrument or group as a separate audio file, all starting at bar 1, at the session's sample rate. Name them clearly (01_Kick.wav, 02_Snare.wav, etc.) and put them in a folder named with the song, BPM, and key. Send dry stems wherever possible — the mixing engineer will add effects.
What's the difference between mixing and mastering?
Mixing balances and shapes the individual elements of a song — vocals against drums, bass against keys, etc. Mastering takes the finished mix and polishes it as a whole — loudness, tonal balance across an album, and final preparation for streaming, vinyl, or CD. Mixing happens first, mastering happens last.
This post is part of Musiciangoods' Mixing & Mastering Simplified series — practical audio production, taught visually, for producers and musicians who want to understand how their sound comes together. Explore more production tools here.







 Χάρτης Ακκόρντων Κιθάρας Mousepad
 Σημειωματάριο Θεωρίας Μουσικής Mousepad
 Φύλλο Απάτης Μίξης και Μάστερινγκ Mousepad


