 4.8/5 on Trustpilot

Open a serious session and you might see forty, fifty, even a hundred tracks. Try to balance all of them one fader at a time and you'll lose your mind — and your mix. Track stacks are the fix: they group related instruments so you can control a whole drum kit, a stack of synths, or a layered vocal with a single fader. It's the organizational habit that makes big sessions feel small.
In this guide we'll explain what track stacks are, how to create them, how to pair them with arrangement markers for a tidy session, and how grouping makes the entire balancing process faster and cleaner.

What are track stacks?
Track stacks group similar instruments together — like all your drums, multiple synths, or layered pianos and Rhodes — so you can control the entire group with one fader. Instead of adjusting each track individually, you adjust the whole group at once.
Here's the everyday example. If your vocals sound perfect but your drums are a little too loud overall, you can simply pull the Drum Stack down by 1–2 dB instead of touching each kick, snare, and hi-hat separately. The internal balance of the drums stays intact; the whole group just moves together. This keeps your workflow clean and efficient.
Track stacks come in two flavors. A summing stack routes all the grouped tracks to a shared internal bus, so the group fader actually controls a real subgroup you can also process as one (great for bus compression or EQ across the whole drum kit). A folder stack simply tidies the tracks into a collapsible folder for visual organization. For mixing, the summing stack is the powerful one.
How track stacks work
The magic of a summing stack is the shared bus. When you create one, your DAW automatically routes every track in the group to a single internal channel. That channel's fader now controls the combined output of everything inside — and any plugin you add to it processes the whole group together.
That unlocks two things at once. First, group level control: move one fader and the entire drum kit, synth layer, or vocal stack rises and falls as a unit, keeping the carefully-set internal balance intact. Second, group processing: a single compressor or EQ on the stack bus glues the grouped tracks together and shapes them as one cohesive instrument rather than a pile of separate parts.
Creating a track stack in Logic Pro
The steps are quick, and most DAWs have an equivalent (often called a group, bus, or folder track):
- Select the tracks you want to group (for example, all your drum tracks).
- Go to Track → Create Track Stack (or press Shift + Command + D).
- In the pop-up, choose Summing Stack. This creates the internal bus automatically.
- Rename the stack (e.g., "Drums") and color-code it for clarity.

Pair track stacks with arrangement markers
Track stacks organize your session vertically (by instrument group). Arrangement markers organize it horizontally (by song section), and together they make a session effortless to navigate.
Arrangement markers let you label and manage each section of your song — Intro, Verse, Chorus, Bridge, and so on — so you always know exactly where you are in the track. This makes it simple to automate volume or effects for specific sections, jump instantly to any part that needs attention, and communicate clearly with clients or collaborators. When someone says "can you turn up the chorus vocals slightly?", you jump straight to the chorus instead of guessing where it starts.
To create them in Logic: go to Track → Global Tracks → Arrangement to enable the arrangement track, click the "+" button to add a section, drag its edges to cover the right length, and rename it (Intro, Verse 1, Chorus, etc.). You can also color-code each section — Intro green, Chorus red, Bridge blue — to make navigation even clearer.
How to organize your session with track stacks (a 4-step plan)
Step 1 — Group by instrument family
Select tracks that belong together — all drums, all background vocals, all synths — and create a summing stack for each. Most sessions end up with a handful of stacks (Drums, Bass, Vocals, Synths, FX) instead of dozens of loose tracks.
Step 2 — Name and color-code everything
Rename each stack clearly and assign a color. A glance at the track list should tell you exactly what's where. This small habit pays off every minute you spend in the session.
Step 3 — Add arrangement markers
Lay out your song sections on the arrangement track — Intro, Verse, Chorus, Bridge. Color-code them too. Now you can jump to any part of the song instantly and automate sections cleanly.
Step 4 — Balance with group faders
With everything grouped, balance at the stack level first. Pull the whole Drum Stack or Synth Stack up or down as a unit, then dive into individual tracks only when a specific element needs attention. This top-down approach is dramatically faster than fader-by-fader.
Common mistakes to avoid
- Skipping organization entirely. Mixing a sprawling, unlabeled session is slow and error-prone. A few minutes of stacking and labeling up front saves hours later.
- Using folder stacks when you need summing stacks. Folder stacks only tidy the view; they don't give you a group fader or bus processing. For mixing control, choose summing stacks.
- Over-grouping. Don't bury everything in one giant stack. Group by instrument family so each group is meaningful and controllable, not a catch-all.
- Forgetting to name and color. An unnamed stack is barely better than loose tracks. Always rename and color-code so navigation stays instant.
- Ignoring arrangement markers. Without section labels, you waste time hunting for the chorus or bridge and can't automate sections cleanly. Set markers early.
Why track stacks matter
Track stacks turn an overwhelming session into a manageable one. They keep your workflow clean, speed up balancing, and let you process whole instrument groups as a single unit. Combined with arrangement markers, they give you:
- Faster balancing, because you adjust groups before individual faders.
- Group processing power, with one compressor or EQ gluing a whole instrument family together.
- A session you can navigate instantly — and hand off to collaborators without confusion.
Take it further
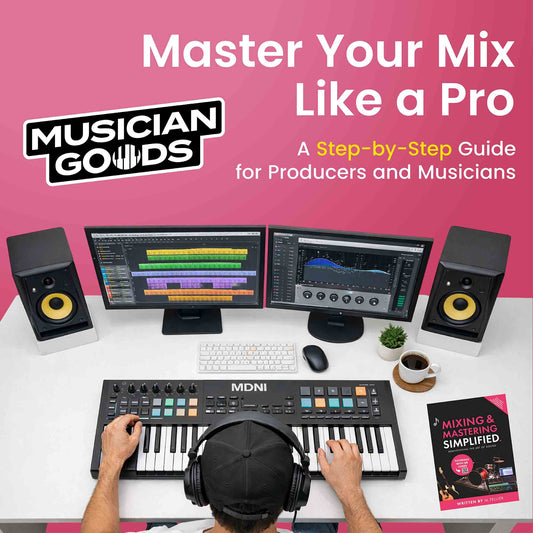
Track stacks are part of the full volume-balance chapter — alongside finding the right balance, building a static mix, and using a reference track — all covered visually in Mixing & Mastering Simplified.
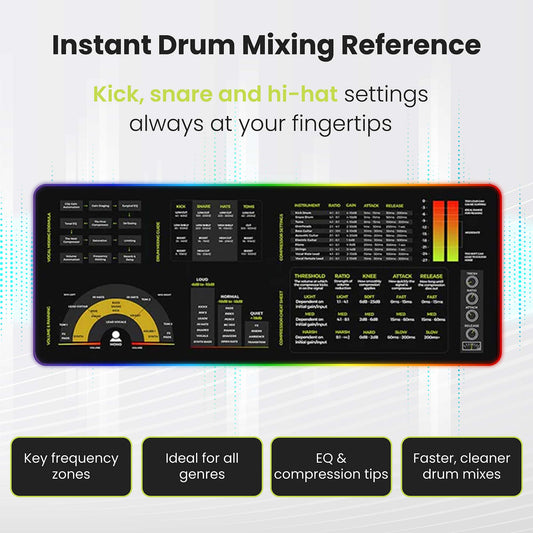
Want the balancing targets and workflow at your desk? The Mixing & Mastering Cheat Sheet Poster and Cheat Sheet Mousepad keep level targets and signal-flow reminders within reach while you mix.
Pair them with the Instrument Frequency Cheat Sheet Poster for EQ reference alongside your balance, or grab everything together in the Complete Mixing & Mastering Bundle.

FAQs about track stacks
What is a track stack in mixing?
A track stack groups related tracks — like all your drums or all your synths — so you can control the whole group with one fader. A summing stack also routes them to a shared bus, letting you process the entire group as one.
What's the difference between a summing stack and a folder stack?
A folder stack only tidies tracks into a collapsible folder for visual organization. A summing stack routes the grouped tracks to a shared internal bus, giving you a single group fader and the ability to add bus processing across the whole group. For mixing control, use a summing stack.
How do I create a track stack in Logic Pro?
Select the tracks you want to group, go to Track → Create Track Stack (or Shift + Command + D), choose Summing Stack, then rename and color-code it. Most DAWs offer an equivalent group, bus, or folder feature.
What are arrangement markers?
Arrangement markers label each section of your song — Intro, Verse, Chorus, Bridge — on a dedicated track so you always know where you are. They make it easy to jump between sections, automate specific parts, and communicate with collaborators.
Do track stacks change my sound?
Creating a stack doesn't alter the sound on its own — it groups tracks for control. But because a summing stack routes everything to a shared bus, any plugin you add to that bus will process the whole group, which you can use to glue instruments together.
This post is part of Musiciangoods' Mixing & Mastering Simplified series — practical production technique, taught visually, for musicians who want to shape their sound with confidence. Explore more mixing and mastering tools here.





 Guitar Chords Chart Mousepad
 Guitar Theory Simplified (Paperback/PDF)
 Bass Guitar Theory Cheat Sheet Mousepad
 Bass Theory Simplified (Paperback/PDF)
 Music Theory Simplified - (Paperback/PDF)
 Music Theory Cheat Sheet Mousepad
 Ukulele Theory Simplified (Paperback/PDF)
 Ukulele Theory Cheat Sheet Mousepad
 Guitar Theory Cheat Sheet Mousepad
 Mixing Mastering Cheat Sheet Mousepad


