4,8/5 su Trustpilot

Gain staging sounds like an advanced engineering term, but it's really the simplest, most overlooked step in mixing — and skipping it is why so many beginner mixes distort, clip, or never sit right no matter how many plugins you add. Think of it like cooking: if the pot is too full, every ingredient you add makes it spill. Gain staging just gives you room to work.
In this guide we'll explain what gain staging is, why it has to come first, and walk through a simple step-by-step method to set healthy levels across your whole session before you ever touch an EQ or compressor.

What is gain staging?
Gain staging means adjusting the raw volume level of each track so that everything sits in an optimal range before you start mixing. It isn't about creative balance or effects yet — it's about creating a solid foundation so your plugins and processors perform as intended.
It helps to understand the difference between gain and volume. Gain sets the signal's strength before it hits effects and processing — think of it as input level. Volume (your channel fader) adjusts loudness after processing. Gain staging is about the input side: feeding every plugin a clean, controlled signal.
The target is simple. After gain staging, your individual tracks should average between -10 dB and -20 dBFS, with occasional peaks no higher than about -6 dBFS. Once your tracks are staged this way, your master output naturally peaks around -6 dBFS before mastering — which leaves healthy headroom for the mastering stage and prevents digital clipping.
Why gain staging works — and why it comes first
Two things make proper gain staging essential.
First, it prevents clipping. Clipping happens when a signal exceeds 0 dBFS — the maximum level a digital system can handle — and the waveform's peaks get cut off, producing harsh distortion. Keeping levels controlled keeps every track clean.
Second, it makes your plugins work properly. Many analog-modeled plugins are designed to perform best at moderate input levels, typically averaging around -10 to -20 dBFS on individual tracks. Feed them audio that's too hot and you risk unpleasant distortion and processing that behaves unpredictably. Feed them clean, controlled levels and they do exactly what they're supposed to.
And it has to come first because mixing is about creativity and decision-making — not troubleshooting uneven volume levels. By gain staging before anything else, you feed your plugins clean, balanced audio and save yourself hours of frustration later when the mix gets complex.

Gain staging step by step (the fast method)
The easiest way to gain stage is with your DAW's gain normalization feature — a tool most DAWs include. You could manually adjust the gain on every track one by one, but normalization speeds the process up dramatically. Here's how to do it (the example uses Logic Pro, but most DAWs have the same feature under a similar name).
Step 1 — Select all your tracks
Select every region in your project so the process applies across the whole session at once.
Step 2 — Open Normalize Region Gain
In Logic Pro, go to Functions → Normalize Region Gain. Other DAWs have an equivalent normalization or gain command — look under your audio or region functions menu.
Step 3 — Set the target and method
Set the Target Level to -10 dB. For "Affect," choose Individual Tracks (so each track is treated on its own). For "Algorithm," select Peak. Then apply.
Step 4 — Check the result
Your DAW takes a moment to process. You'll notice some tracks change more than others — that's completely normal. After normalization, your track volumes should average between -10 dB and -20 dB, with peaks no higher than about -6 dB. If certain dynamic instruments like vocals have occasional peaks above that range, that's fine — the goal is for most of your audio to "cruise" in the healthy zone.

What you get from proper gain staging
Starting with balanced, controlled levels sets up a cleaner, more professional mix and gives your processing tools the signal they need to work at their best. Specifically, it provides:
- Healthy input levels for all your plugins.
- Optimal performance from analog-emulation plugins, many of which are designed for the -10 to -20 dBFS range.
- Plenty of headroom to prevent clipping later in the mix and at the mastering stage.
Common mistakes to avoid
- Mixing before gain staging. If you jump into EQ and compression with uneven, too-hot levels, you'll spend the whole session fighting volume problems instead of making creative decisions.
- Confusing gain with volume. Gain is the input level before processing; the fader is loudness after processing. Turning a fader down doesn't fix a track that's clipping its plugins on the way in.
- Chasing 0 dBFS. Louder isn't better at this stage. Pushing tracks toward 0 leaves no headroom and invites clipping. Aim for an average around -10 to -18 dB.
- Panicking over occasional peaks. Dynamic instruments like vocals will spike above the average sometimes — that's normal. The goal is for most of the audio to cruise in the healthy range, not for every peak to be flat.
- Forgetting the master. If your individual tracks are staged well, your master should naturally land around -6 dBFS before mastering. If it's slamming 0, your gain staging needs another pass.
Why gain staging matters
Gain staging is the unglamorous step that makes everything after it easier. It's the foundation the entire mix is built on — and like any foundation, you only notice it when it's missing. Doing it first gives you:
- Clean, distortion-free tracks that never clip on the way into your plugins.
- Processing that behaves predictably, because every plugin gets the level it was designed for.
- Headroom that carries all the way through to mastering, so your final track has room to breathe.
Take it further
Gain staging is the foundation of the full levels-and-phase chapter — alongside clipping, phase alignment, and volume balancing — all covered visually in Mixing & Mastering Simplified.
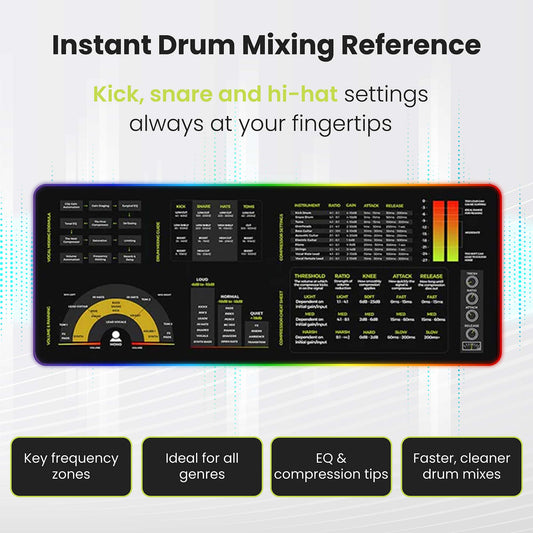
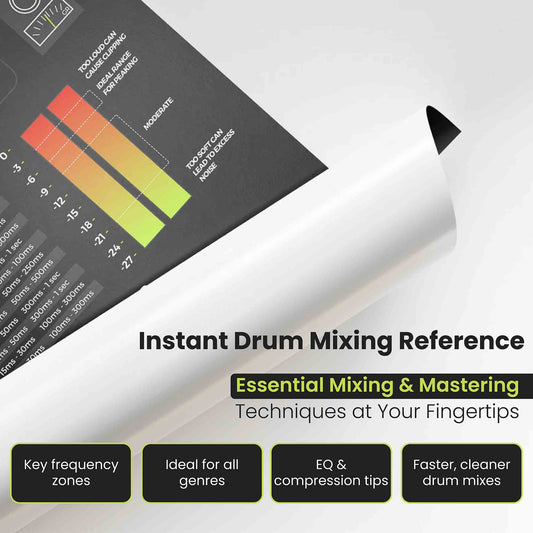
Want the healthy level targets at your desk? The Mixing & Mastering Cheat Sheet Poster and Cheat Sheet Mousepad keep dBFS targets and signal-flow reminders within reach while you mix.
Pair them with the Instrument Frequency Cheat Sheet Poster for EQ reference alongside your levels, or grab everything together in the Complete Mixing & Mastering Bundle.

FAQs about gain staging
What level should I gain stage to?
Aim for individual tracks to average between -10 dB and -20 dBFS, with peaks no higher than about -6 dBFS. Staged this way, your master output should naturally peak around -6 dBFS before mastering, leaving healthy headroom.
What's the difference between gain and volume?
Gain sets the signal's strength before it hits effects and processing — it's your input level. Volume (the channel fader) controls loudness after processing. Gain staging is about getting the input level right so plugins perform properly.
Do I gain stage before or after EQ and compression?
Before. Gain staging is one of the very first steps, done right after importing your tracks and fixing any phase issues. Setting healthy levels first means your EQ and compression behave predictably instead of distorting.
What is the fastest way to gain stage?
Use your DAW's gain normalization feature. In Logic Pro, select all tracks, go to Functions → Normalize Region Gain, set the target to -10 dB, choose Individual Tracks and the Peak algorithm, and apply. It stages the whole session in one move.
Is gain staging the same as mastering?
No. Gain staging happens at the very start of mixing to set clean input levels. Mastering is the final stage after the mix is done, where you polish overall loudness and tone. Good gain staging gives mastering the headroom it needs.
This post is part of Musiciangoods' Mixing & Mastering Simplified series — practical production technique, taught visually, for musicians who want to shape their sound with confidence. Explore more mixing and mastering tools here.