4,8/5 su Trustpilot

Mastering feels like a black box. A finished mix goes in one side, a polished, radio-ready track comes out the other, and the process in between seems reserved for engineers with treated rooms and thousand-dollar gear. It's not. At its core, mastering is a short, repeatable chain of subtle moves — and you can learn every one of them.
This is a complete beginner's walkthrough of mastering: what it actually does, the handful of tools involved, and a step-by-step workflow you can follow on your very next track. This is mastering, simplified.

What is mastering?
Mastering is the final step in the music production process. After all the creative decisions of mixing are complete, mastering takes your finished stereo mix and prepares it for release. Think of mixing as shaping and balancing all the individual ingredients of a dish, and mastering as plating the meal and adding the final garnish. It doesn't change the recipe — it makes sure everything looks and tastes perfect before serving.
Crucially, mastering is not a substitute for mixing. It can enhance a good mix but cannot fix a bad one. If your mix is muddy, unbalanced, or has technical issues, those problems only get magnified during mastering. So the first rule of mastering for beginners is: start with the best mix you can make.
Why bother at all? Because even a great mix can fall apart on different systems. Mastering makes sure your track translates everywhere — from studio monitors to car stereos to phone speakers — sounds polished and professional, is loud enough to compete with commercial releases without distorting, and stays consistent across an album or EP.
How mastering works: the core tools
Mastering might seem complex, but it really comes down to just a few tools, each with a specific role. Unlike mixing, where you process individual instruments, in mastering every one of these affects the entire song at once — so the golden rule is to be subtle.

EQ makes small, precise adjustments to the overall tonal balance — brightening dull highs, softening harsh frequencies, or tightening the low end across the whole track. Compression smooths out dynamics and "glues" the mix together for a cohesive feel, used very subtly. The limiter is the final stage: it raises overall loudness to competitive levels while preventing clipping. And metering tools give you visual feedback — a LUFS meter measures perceived loudness so your track isn't too quiet or over-crushed, and a peak meter shows your highest levels so you avoid clipping.
How to master a track (4-step plan)
Step 1 — Import your mix and check headroom
Start fresh in a new, empty project. Import the stereo mix you exported after finalizing, and make sure the master channel is plugin-free so you begin with a clean signal. Check the level: your mix should peak between -6 dB and -3 dB. That headroom is what gives EQ, compression, and limiting room to work. Match the project's sample rate and bit depth to your mix to avoid needless conversion, and always work with a stereo file, never mono.
Step 2 — Listen before touching anything
Play the whole song start to finish without making a single adjustment. Take notes: Is it too bright or too dull? Does the low end feel muddy or thin? Is the stereo image balanced? How does the loudness compare to songs you love? Import a reference track, match its volume to yours, and compare. Mastering is about subtle refinement — if you don't listen critically first, you risk making changes that hurt a good mix.
Step 3 — Shape tone with EQ, then glue with compression
Reach for a transparent EQ and make small moves, no more than roughly 2–3 dB per adjustment. Cut harsh highs around 3–8 kHz if the track feels fatiguing, tame muddy lows around 150–300 Hz for clarity, and add gentle air above 10 kHz if it sounds dull. Then apply light compression to glue the mix together: a low ratio around 1.5:1 to 2:1, a slow attack, a medium release, aiming for just 1–2 dB of gain reduction on the loudest peaks. Think of it like seasoning food — a little enhances the flavor, too much overwhelms the dish.
Step 4 — Limit for loudness, then do final checks
The limiter is always the last plugin in the chain. Raise its input gain slowly until the track reaches a competitive volume, keeping peaks under -0.1 dB to avoid clipping. Check your LUFS: streaming services usually target around -14 LUFS integrated, while louder genres like EDM or hip-hop may aim for -9 to -11 LUFS — but don't over-compress chasing loudness. Finally, listen on multiple systems (monitors, headphones, laptop, phone, car), compare once more with your reference, then export as 24-bit WAV or AIFF with normalization off.
Common mistakes to avoid
- Trying to fix the mix in mastering. Mastering enhances a good mix; it can't rescue a bad one. If something's wrong, go back to the mix.
- Making big EQ moves. Mastering EQ affects the whole song. Keep adjustments to 2–3 dB — less is genuinely more.
- Over-compressing for loudness. Crushing dynamics to hit a loud LUFS number sucks the life out of a track. Aim for 1–2 dB of gain reduction, not squashing.
- Skipping the listen-first step. Diving straight into plugins means you're guessing at what the track needs instead of responding to it.
- Leaving normalization on at export. It overrides your carefully set loudness and headroom. Always export with it off.
Why mastering matters
Mastering is what lets your song stand next to commercial releases without sounding like a demo. It's the difference between a track that only sounds right in your studio and one that translates on every system your listeners actually use — earbuds on a bus, a car stereo, a laptop speaker. It ties an EP or album together so the songs feel like one body of work. And learning to do it yourself, even at a basic level, sharpens your understanding of EQ, compression, and loudness in a way that makes you a better mixer too. You don't need a mastering suite to start — you need a clean mix, a quiet room, and this workflow.
Take it further
The complete mastering chapter — every tool, every setting, and the full finalizing workflow that feeds into it — is laid out step by step in Mixing & Mastering Simplified, in the same clear, visual style as this post.
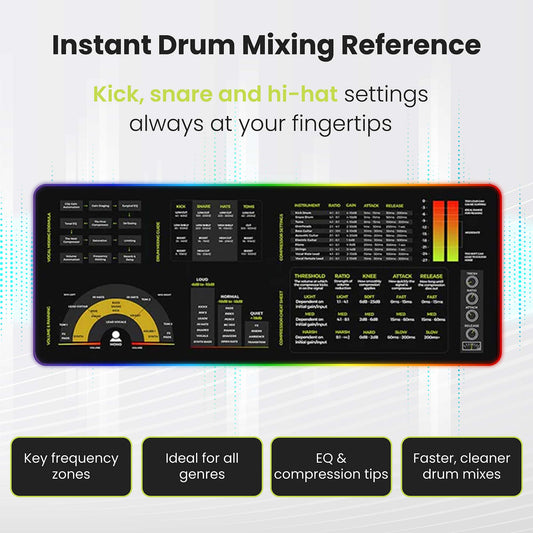
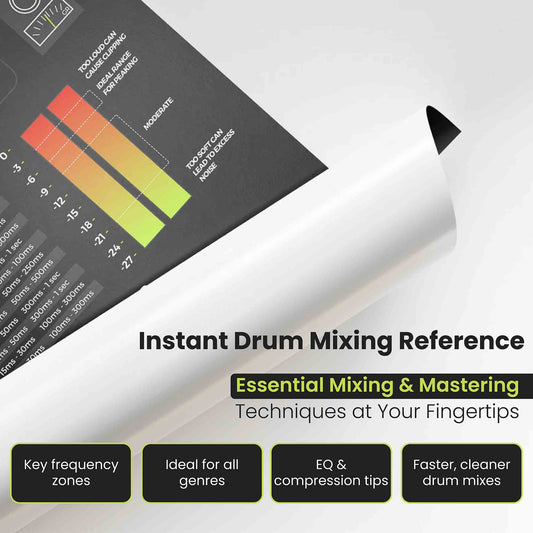
Want the settings and targets next to your DAW while you master? The Mixing & Mastering Cheat Sheet Poster and Cheat Sheet Mousepad keep the mastering chain, LUFS targets, and export settings in view.
Working on your tonal balance? The Instrument Frequency Cheat Sheet Poster shows where each instrument lives in the spectrum. Or get the full kit in the Mixing & Mastering Bundle.

FAQs about mastering for beginners
Can I master my own music as a beginner?
Yes. Mastering comes down to a few tools used subtly — EQ, gentle compression, a limiter, and metering. Start with a clean mix that has -6 to -3 dB of headroom, follow a simple chain, and reference commercial tracks. You'll get usable results and improve fast.
What order do mastering plugins go in?
A common beginner chain is EQ first (to shape tone), then light compression (to glue), then a limiter last (to set final loudness and prevent clipping). Metering tools sit alongside to check LUFS and peaks.
How loud should a master be?
Streaming platforms generally target around -14 LUFS integrated. Louder genres like EDM or hip-hop often aim for -9 to -11 LUFS. Keep true peaks under -0.1 dB and avoid over-compressing just to chase a louder number.
What's the difference between mixing EQ and mastering EQ?
Mixing EQ shapes individual instruments. Mastering EQ affects the entire song at once, so moves are small and precise — usually no more than 2–3 dB — to nudge the overall tonal balance rather than fix single elements.
What format should I export a master in?
Export as 24-bit WAV or AIFF, match your project's sample rate, and turn normalization off so your exact loudness and dynamics are preserved. Label the file clearly, for example SongName_Master_Final.wav.
This post is part of Musiciangoods' Mixing & Mastering Simplified series — practical audio engineering, taught visually, for producers who want to understand what they're doing and why. Explore more mixing and mastering tools here.