 4.8/5 on Trustpilot

Every instrument sounds great on its own — then you hit play on the full mix and it turns to mud. Nothing is distorting, the levels look fine, but everything blurs together. The culprit is almost always frequency masking: two sounds fighting for the same space. Once you can spot it, your mixes get clearer overnight.
In this guide we'll break down what frequency masking is, why it happens, how to identify it with your ears and your eyes, and how to fix it using EQ, panning, and arrangement.

What is frequency masking?
Frequency masking happens when two or more instruments occupy the same frequency range, so they compete for the same space and blur together instead of standing out. It isn't caused by a "bad" sound — both instruments can be perfectly good on their own. The problem is that they're both trying to live in the same part of the frequency spectrum.
Picture a stage with two performers but only one spotlight. If both stand in the same spot, the audience can't clearly see either one. If one steps slightly to the side, suddenly both are visible. Masking works exactly the same way: when two instruments fight for the same frequency "spotlight," they cancel each other's clarity.
Common examples of masking
- Kick + bass (low end, ~50–120 Hz) — they step on each other and the low end turns muddy with no clear separation.
- Guitars + vocals (midrange, ~1–3 kHz) — guitars drown out vocal clarity and the words get buried.
- Vocals + cymbals (high end, ~6–8 kHz) — vocal sibilance overlaps with cymbal brightness and the top end sounds harsh.
The goal is never to make one of these sounds "better" — it's to separate them so each one has room to be heard.
How to identify frequency masking
Masking isn't always obvious. Soloed, each track can sound clear and full; it's only when they play together that definition disappears. That sudden loss of clarity is the tell-tale sign that two sounds are competing. Here are three reliable ways to spot it.

1. A/B listening. Solo the track you're working on and listen to it in isolation, then bring it back into the full mix. If it suddenly loses punch, clarity, or presence, that's a strong sign of masking.
2. The EQ sweep. Insert an EQ, create a narrow boost with a high Q, and slowly sweep it across the spectrum. Listen for points where the sound jumps out harshly. If more than one instrument pops out in the same spot, they're competing for that range.
3. The spectrum analyzer. Visual tools show real-time frequency energy. When two instruments have peaks stacked in the same area, they'll blur together. The usual suspects are kick and bass in the lows, guitar and vocals in the mids, and vocals and cymbals in the highs.
How to fix frequency masking
Once you've spotted masking, the fix is never "turn it up" — that usually makes it worse. Instead you carve out space so each instrument has its own place in the mix.
Step 1 — Carve with EQ
EQ carving means making a small cut in one instrument so another can stand out in the same range. For example, reduce the bass slightly around 60–80 Hz to open space for the kick to punch through, while the bass still fills out the low end without getting muddy. Small cuts, not big ones.

Step 2 — Separate in the stereo field
Masking doesn't only happen in frequency — it happens in the stereo field too. When multiple instruments are stacked dead center, they compete. Pan sounds slightly left or right to give each its own place. Panning guitars left and right, for instance, leaves the center open for vocals and kick.
Step 3 — Make subtle moves
Gentle adjustments win. Even a small pan of 10–30% left or right can create separation without making the mix feel unnatural. The same goes for EQ — a 1–3 dB cut often solves the problem more cleanly than a dramatic one.
Step 4 — Check on speakers
If you're mixing on headphones, double-check your panning on speakers. Headphones exaggerate stereo width, so subtle pans that sound balanced in headphones may disappear — or sound too wide — over speakers.
Common mistakes to avoid
- Turning the masked track up. Raising the volume of a buried instrument only makes the clash louder. Carve space instead of adding level.
- Making huge EQ cuts. Dramatic cuts strip the character out of a sound. Small, surgical moves keep instruments natural while still freeing up space.
- EQing in solo. A track that sounds thin on its own may be perfect in the mix. Always judge masking with everything playing together.
- Ignoring the stereo field. Frequency carving is only half the battle. Two centered sounds can mask each other even with good EQ — panning is often the simpler fix.
- Trusting headphones alone. Headphones over-emphasise stereo width and low-end detail. Confirm your separation decisions on speakers before committing.
Why fixing masking matters
Frequency masking is the difference between a mix that sounds crowded and one that sounds clear and professional. Learning to manage it gives you:
- Clarity — every instrument is audible and defined instead of blurred into mud.
- Punch and impact — kick and bass hit hard because they're no longer cancelling each other.
- A wider, more open mix — separating sounds in frequency and stereo space makes the whole track breathe.
Take it further
Masking is one piece of the full EQ and frequency chapter — reading an EQ, filter types, subtractive vs additive EQ, complementary EQ, and the frequency spectrum chart — all covered visually in Mixing & Mastering Simplified.
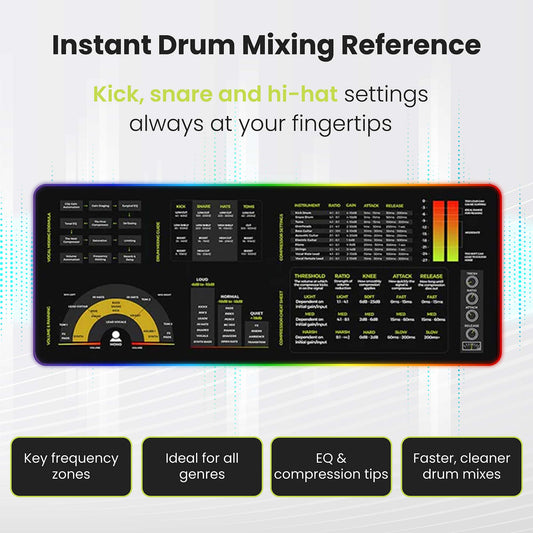
Want a printed reference for which frequencies each instrument lives in? The Mixing & Mastering Cheat Sheet Poster and Cheat Sheet Mousepad keep EQ targets and effect settings at your desk while you mix.
For pinpointing exactly where instruments overlap, the Instrument Frequency Cheat Sheet Poster maps every instrument's frequency range — or grab everything together in the Complete Mixing & Mastering Bundle.
FAQs about frequency masking
What is frequency masking in mixing?
Frequency masking is when two or more instruments occupy the same frequency range and compete for space, causing them to blur together and lose clarity. It's not caused by a bad sound — it happens because both sounds are trying to live in the same part of the spectrum.
What causes masking in a mix?
It's caused by instruments overlapping in the same frequency range — like kick and bass in the lows, or guitars and vocals in the mids — and often by stacking too many sounds in the center of the stereo field. When sounds share the same space, the ear can't separate them.
How do I fix frequency masking?
Use EQ carving to make a small cut in one instrument where another needs room, pan sounds slightly left or right to separate them in the stereo field, and adjust the arrangement if too many parts crowd the same range. Small moves usually work better than drastic ones.
How can I tell if two instruments are masking each other?
Solo each track, then play them together. If they lose punch or clarity in the full mix, they're likely masking. An EQ sweep or a spectrum analyzer will show you whether their frequency peaks overlap.
Does masking only happen in frequency?
No. Masking also happens in the stereo field. When multiple instruments are stacked in the center, they compete even if their EQ is fine. Panning them apart is often the simplest way to create separation.
This post is part of Musiciangoods' Mixing & Mastering Simplified series — practical production knowledge, taught visually, for producers who want to understand what they're hearing. Explore more mixing and mastering tools here.







 Guitar Chords Chart Mousepad
 Guitar Theory Simplified (Paperback/PDF)
 Bass Guitar Theory Cheat Sheet Mousepad
 Bass Theory Simplified (Paperback/PDF)
 Music Theory Simplified - (Paperback/PDF)
 Music Theory Cheat Sheet Mousepad
 Ukulele Theory Simplified (Paperback/PDF)
 Ukulele Theory Cheat Sheet Mousepad
 Guitar Theory Cheat Sheet Mousepad
 Mixing Mastering Cheat Sheet Mousepad


